stained glass ornaments
objective: Students will create an ornament using stained glass fusing techniques that incorporate the elements & principles of art and design.
history:
The term stained glass can refer to colored glass as a material or to works created from it. Throughout its thousand-year history, the term has been applied almost exclusively to the windows of churches, mosques and other significant buildings. Although traditionally made in flat panels and used as windows, the creations of modern stained glass artists also include three-dimensional structures and sculpture.
As a material stained glass is glass that has been colored by adding metallic salts during its manufacture. The colored glass is crafted into stained glass windows in which small pieces of glass are arranged to form patterns or pictures, held together (traditionally) by strips of lead and supported by a rigid frame. Painted details and yellow stain are often used to enhance the design. The term stained glass is also applied to windows in which the colors have been painted onto the glass and then fused to the glass in a kiln.
Stained glass, as an art and a craft, requires the artistic skill to conceive an appropriate and workable design, and the engineering skills to assemble the piece. A window must fit snugly into the space for which it is made, must resist wind and rain, and also, especially in the larger windows, must support its own weight. Many large windows have withstood the test of time and remained substantially intact since the late Middle Ages. In Western Europe they constitute the major form of pictorial art to have survived. In this context, the purpose of a stained glass window is not to allow those within a building to see the world outside or even primarily to admit light but rather to control it. For this reason stained glass windows have been described as 'illuminated wall decorations'.
For project specific guidelines please see prezi below:
http://prezi.com/3ay8sbdjtnew/?utm_campaign=share&utm_medium=copy
http://prezi.com/3ay8sbdjtnew/?utm_campaign=share&utm_medium=copy
steps:
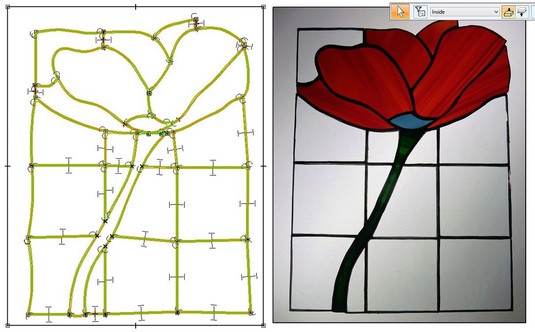
Start with a sketch, use the grid paper provided in class to arrange your glass pieces. This is very important as they will need to fit snugly in order to be soldered together.
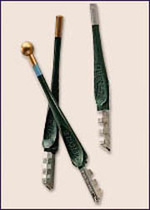
It is very important that you use glass tools correctly and appropriately. YOU MUST WEAR SAFETY GLASSES AT ALL TIMES.
If you cannot do so, an alternative glass project will be assigned.
If you cannot do so, an alternative glass project will be assigned.
|

|
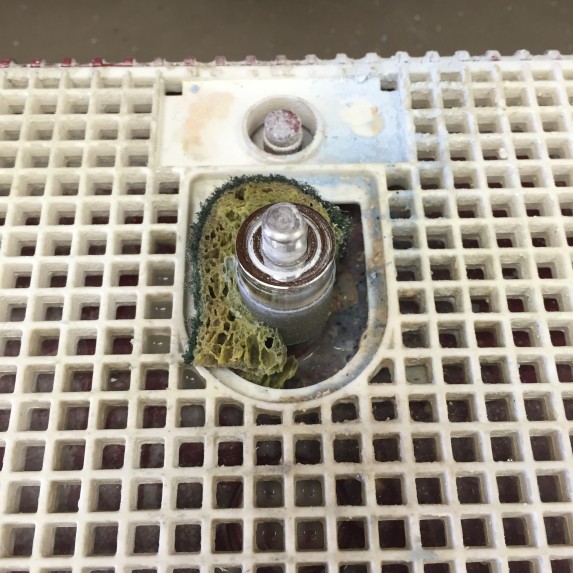
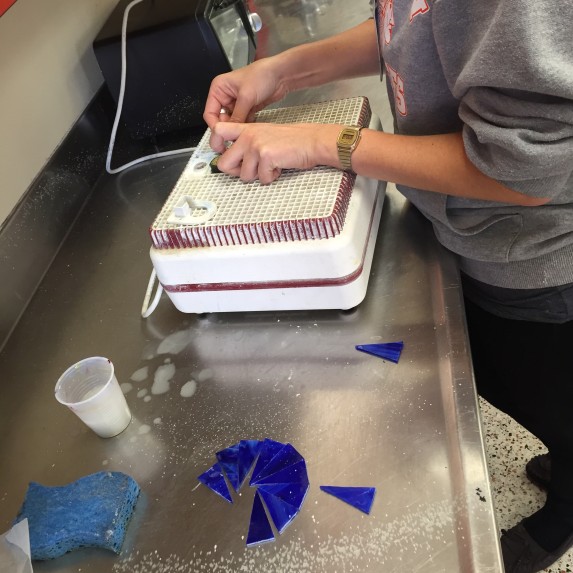
Should your pieces still need some adjusting, you can sand the edges to be sure they are all flat and even. Please continue wearing safety goggles during this application. You must wet the sponge and tabletop of the sanders to achieve the desired effect.
|
|
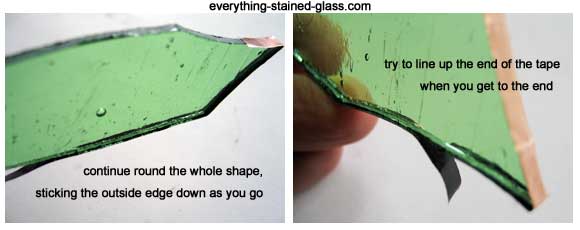
Once all your glass pieces are cut and arranged, you will be wrapping them in copper foil. Be sure to split the foil evenly on all sides, as it is important in the next step.
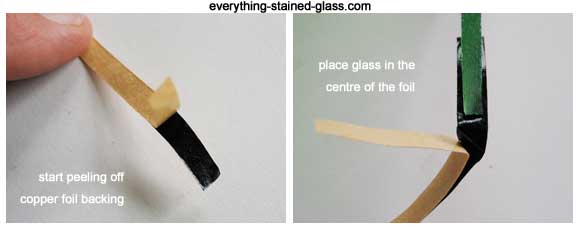
- Start anywhere except for on an outer edge of your panel or on a corner of the piece. This will make the panel stronger
- Press down and continue around the whole piece, checking that the tape is staying centered and pressing down the outside edge as you go
- When you get back to the beginning, make sure that the overlapping bit of tape lines up exactly
- Press down and continue around the whole piece, checking that the tape is staying centered and pressing down the outside edge as you go
- When you get back to the beginning, make sure that the overlapping bit of tape lines up exactly

Now you need to burnish the edges to make them stick firmly.
- Using a fid (you can use a stick or pencil for this) go over the outside edge, to make sure it is stuck properly
- Then do the same for both the back and front edges
- Trim any uneven bits carefully with a craft knife
- The neater your foil, the better your solder will look
- Using a fid (you can use a stick or pencil for this) go over the outside edge, to make sure it is stuck properly
- Then do the same for both the back and front edges
- Trim any uneven bits carefully with a craft knife
- The neater your foil, the better your solder will look
Next you will be using flux, solder, and a soldering iron to secure your glass pieces together. The video below is a great guide to using flux and soldering.
There will be a few steps after soldering both sides of your project. See in class demonstration for applying a hook at the top and cleaning your glass.
