cyanotype.
Cyanotype is a photographic printing process that produces a cyan-blue print. Engineers used the process well into the 20th century as a simple and low-cost process to produce copies of drawings, referred to as blueprints. The process uses two chemicals: ferric ammonium citrate and potassium ferricyanide.
The English scientist and astronomer Sir John Herschel discovered the procedure in 1842. Though the process was developed by Herschel, he considered it as mainly a means of reproducing notes and diagrams, as in blueprints.
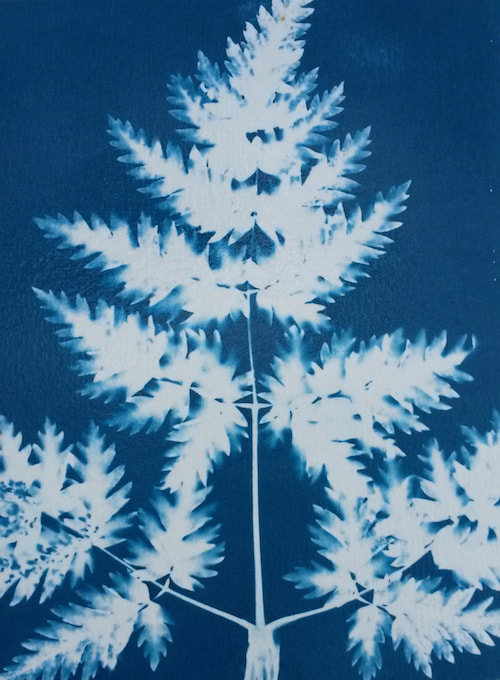
Anna Atkins created a series of cyanotype limited-edition books that documented ferns and other plant life from her extensive seaweed collection, placing specimens directly onto coated paper and allowing the action of light to create a silhouette effect. By using this photogram process, Anna Atkins is sometimes considered the first female photographer.
The cyanotype emulsion is sensitive to ultraviolet light. Therefore either sunlight or another UV light source must be used for exposure.
The English scientist and astronomer Sir John Herschel discovered the procedure in 1842. Though the process was developed by Herschel, he considered it as mainly a means of reproducing notes and diagrams, as in blueprints.
Anna Atkins created a series of cyanotype limited-edition books that documented ferns and other plant life from her extensive seaweed collection, placing specimens directly onto coated paper and allowing the action of light to create a silhouette effect. By using this photogram process, Anna Atkins is sometimes considered the first female photographer.
The cyanotype emulsion is sensitive to ultraviolet light. Therefore either sunlight or another UV light source must be used for exposure.
Objective: SWBAT create their own cyanotype using UV light and objects to create a visually striking composition.
|
|
|
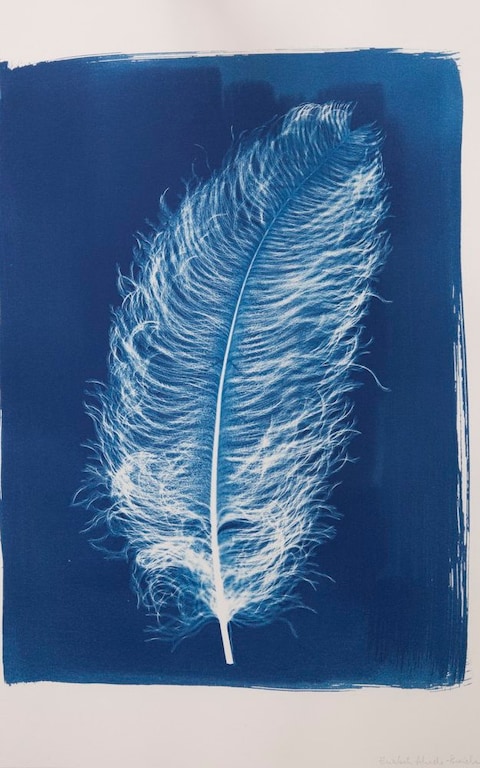
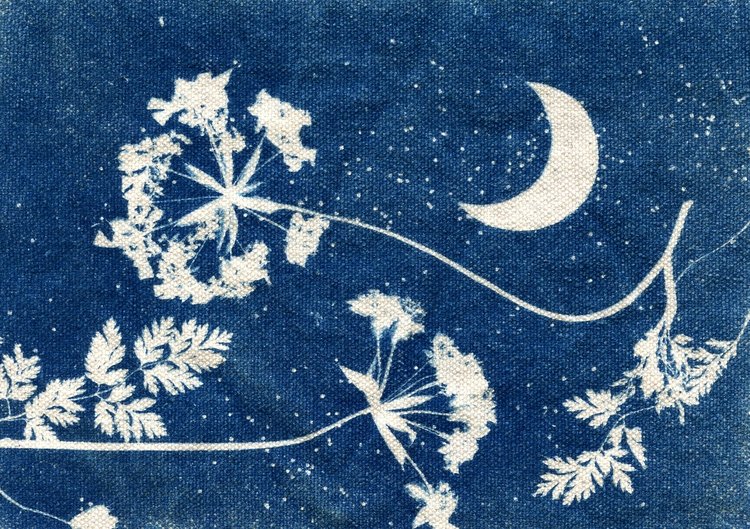
step 1: find objects that you want to use for your cyanotype. objects that work well include things with positive & negative space! leaves, berries, flowers, feathers, shells, lace and strings all work really well.
objects with only positive space will leave you with solid white image, which you may not want.
Step 2: arrange and rearrange your materials to determine what you will do one outside. you have very limited time so you will need to be very careful of how you plan!
Choose 1 item to expose for 10 Minutes - Light Blue
Choose 1 item to expose for 12 Minutes - Lightish Blue / White
Choose 1 item to expose for 15 Minutes - Fully White
P.S. This could be the same item exposed in different positions....hmm!
This will allow for increased shading on your fabric, i.e. Dark Blue - Light Blue/Cyan - White
Choose 1 item to expose for 12 Minutes - Lightish Blue / White
Choose 1 item to expose for 15 Minutes - Fully White
P.S. This could be the same item exposed in different positions....hmm!
This will allow for increased shading on your fabric, i.e. Dark Blue - Light Blue/Cyan - White
