Light Painting Extended
Did you LOVE the light painting assignment last year? Get ready to extend your knowledge and take some fantastic photographs outside of school.
Objective: SWBAT extend their knowledge of light painting techniques by using a long slow shutter speed focusing on various types of light.
You will be taking photographs of the following categories for our Light Painting project.
You must take (3) different photographs for each category!
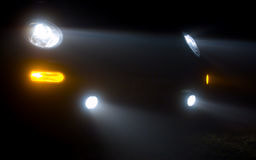
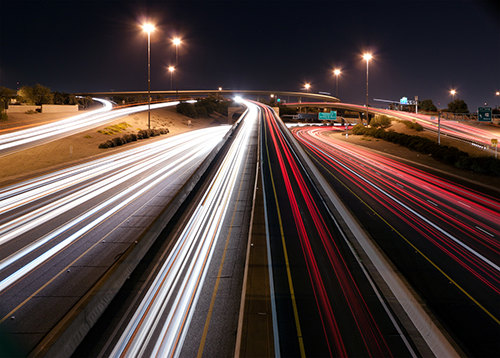
1. Headlights
A. Photo @ 6"
B. Photo @ 13"
C. Photo @ 25" or 30"
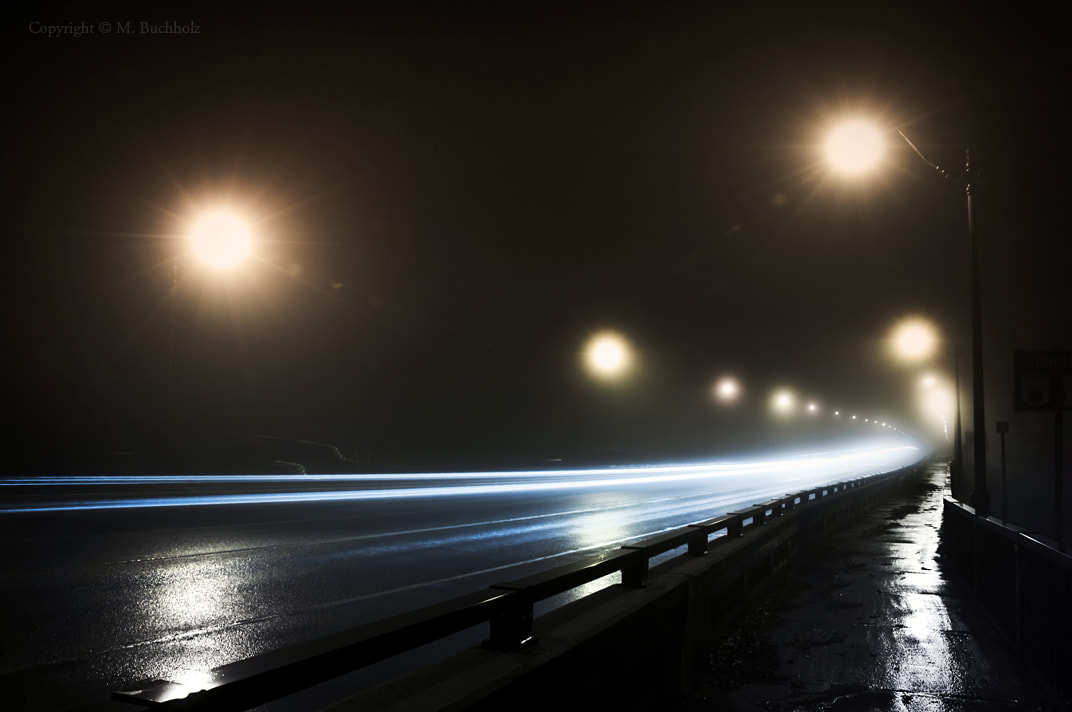
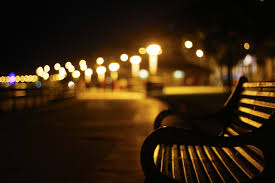
2. Streetlights
A. Photo @ 6"
B. Photo @ 13"
C. Photo @ 25" or 30"
3. Moonlight aka Dusk or Dawn Light
A. Photo @ 2"
B. Photo @ 4"
C. Photo @ 8" or 10-13"
See examples below!
Use a tripod, take one home from school and use TV Mode, change Shutter Speed to gain long exposures.
Want more fun? Try to use my remote shutter control and go over 30 seconds long exposure.
You must take (3) different photographs for each category!
1. Headlights
A. Photo @ 6"
B. Photo @ 13"
C. Photo @ 25" or 30"
2. Streetlights
A. Photo @ 6"
B. Photo @ 13"
C. Photo @ 25" or 30"
3. Moonlight aka Dusk or Dawn Light
A. Photo @ 2"
B. Photo @ 4"
C. Photo @ 8" or 10-13"
See examples below!
Use a tripod, take one home from school and use TV Mode, change Shutter Speed to gain long exposures.
Want more fun? Try to use my remote shutter control and go over 30 seconds long exposure.
headlights
|
|
|
streetlights
|
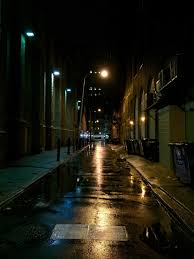
|
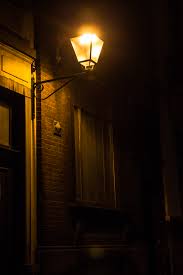
|
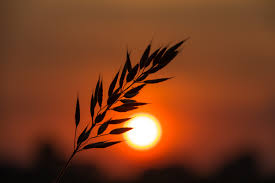
Moonlight, dawnlight, dusklight
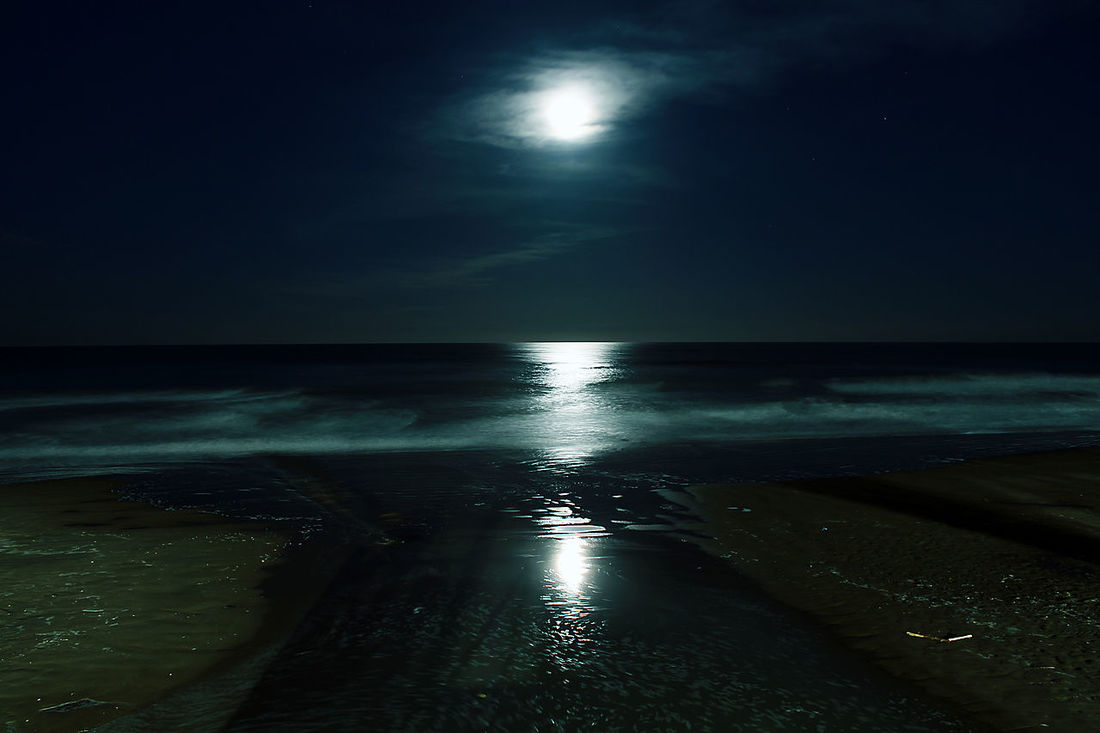
|
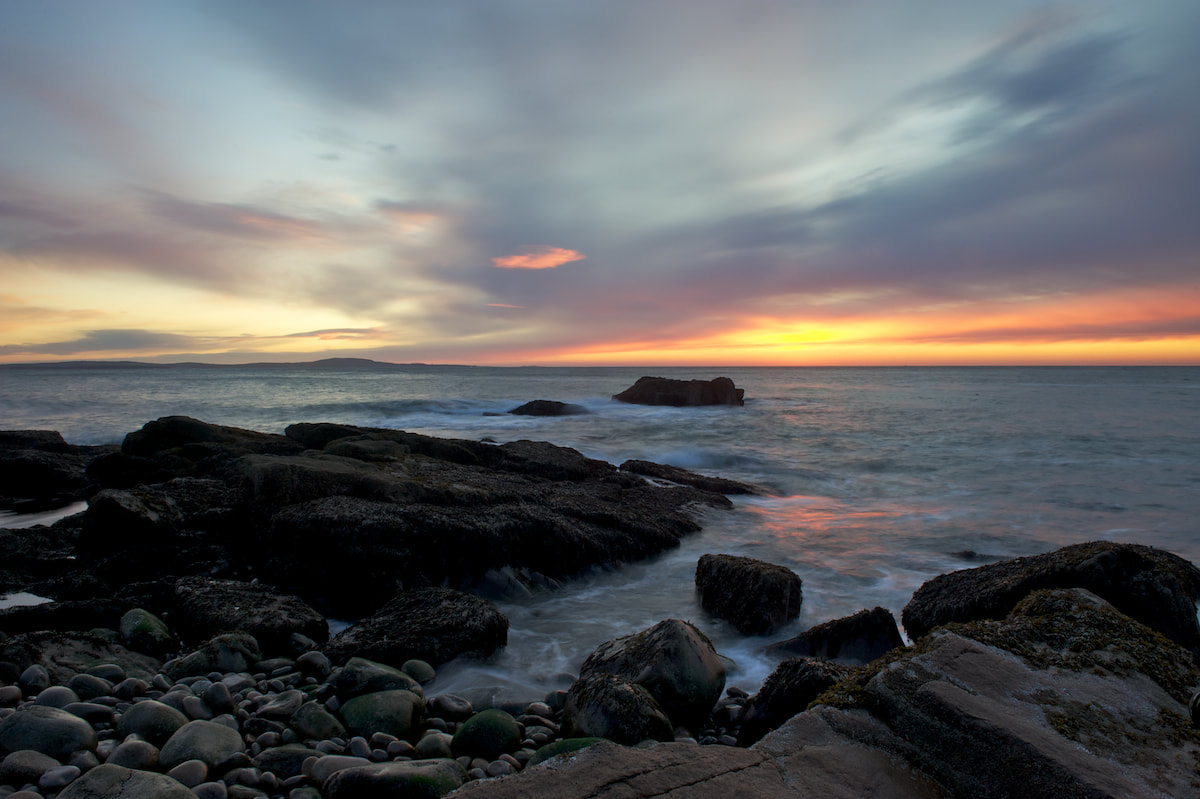
|
|
Places to shoot:
Corners of intersections where headlights and streetlights/traffic lights would be. (Be sure you stay on the sidewalk!)
Boardwalks such as Seaside, Asbury, or Point Pleasant will have lights along the boards and rides and games with various lights!
Moonlight or dusk and dawn light looks great over beaches/landscapes!
Photoshop Edits:
We are going to make your "lights" appear more using lens flares and pops of highlights/colors.
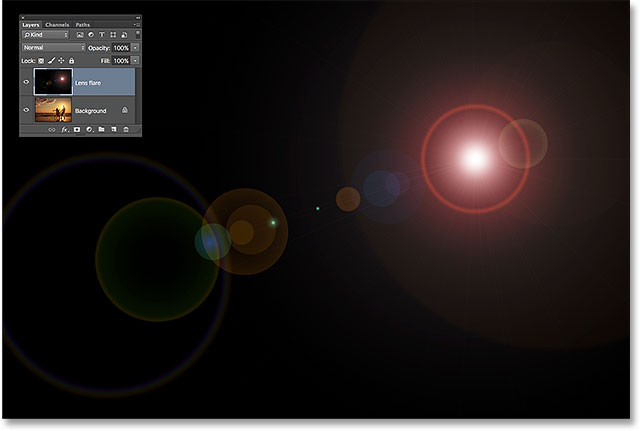
1. Go to Filter > Render > Lens Flare
Play around with the position and different types of flares. Can you make the flares match up with your lights? Can you make these large enough to match the lights in your pictures?
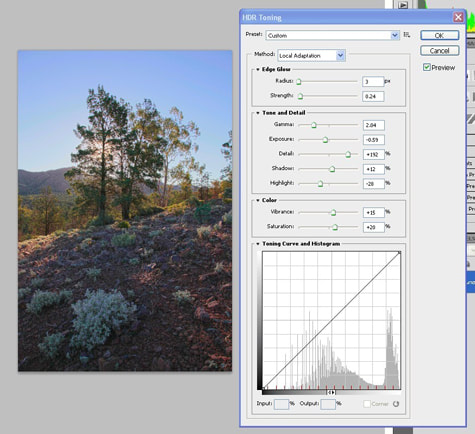
2. Go to Image > Adjustments > HDR Toning
Play around with these settings to increase lights, shadows, and the QUALITY of your photograph.
1. Go to Filter > Render > Lens Flare
Play around with the position and different types of flares. Can you make the flares match up with your lights? Can you make these large enough to match the lights in your pictures?
2. Go to Image > Adjustments > HDR Toning
Play around with these settings to increase lights, shadows, and the QUALITY of your photograph.
|
|
