OBJECTIVES:
STUDENTS WILL UNDERSTAND AND USE EXPOSURE COMPENSATION ON THEIR CAMERAS.
STUDENTS WILL UNDERSTAND AND CREATE A HIGH DYNAMIC RANGE PHOTOGRAPH USING ADOBE PHOTOSHOP.
WHAT IS HDR?
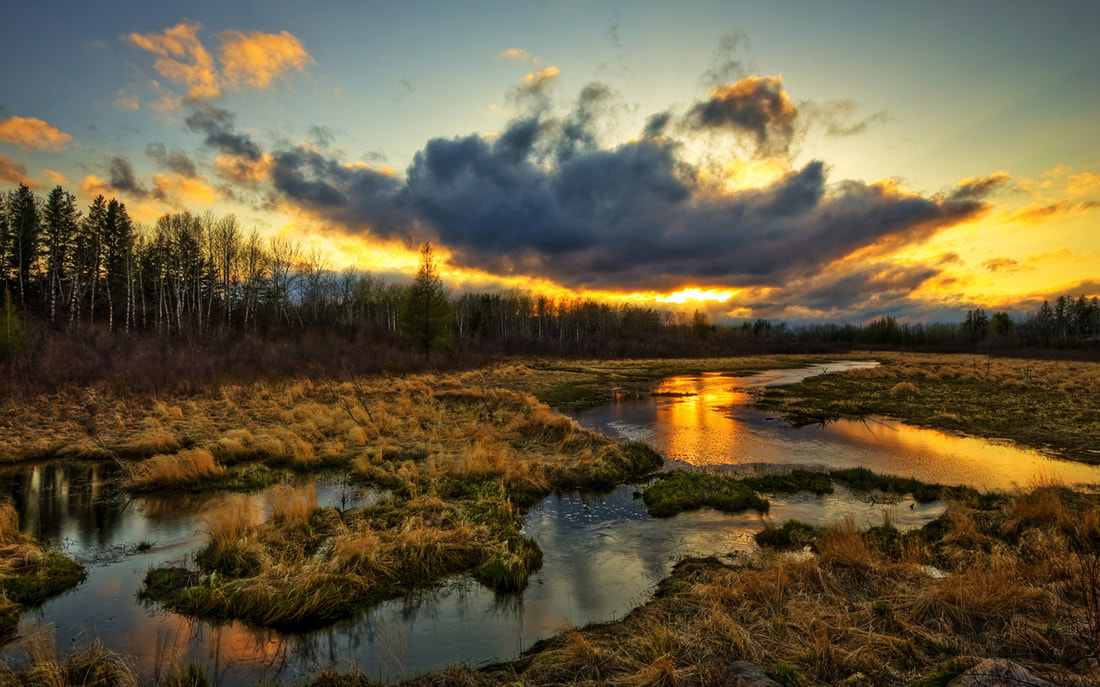
High Dynamic Range, or HDR, is a digital photography technique whereby multiple exposures of the same scene are layered and merged using image editing software to create a more realistic image, or a dramatic effect. The combined exposures can display a wider range of tonal values than what the digital camera is capable of recording in a single image.
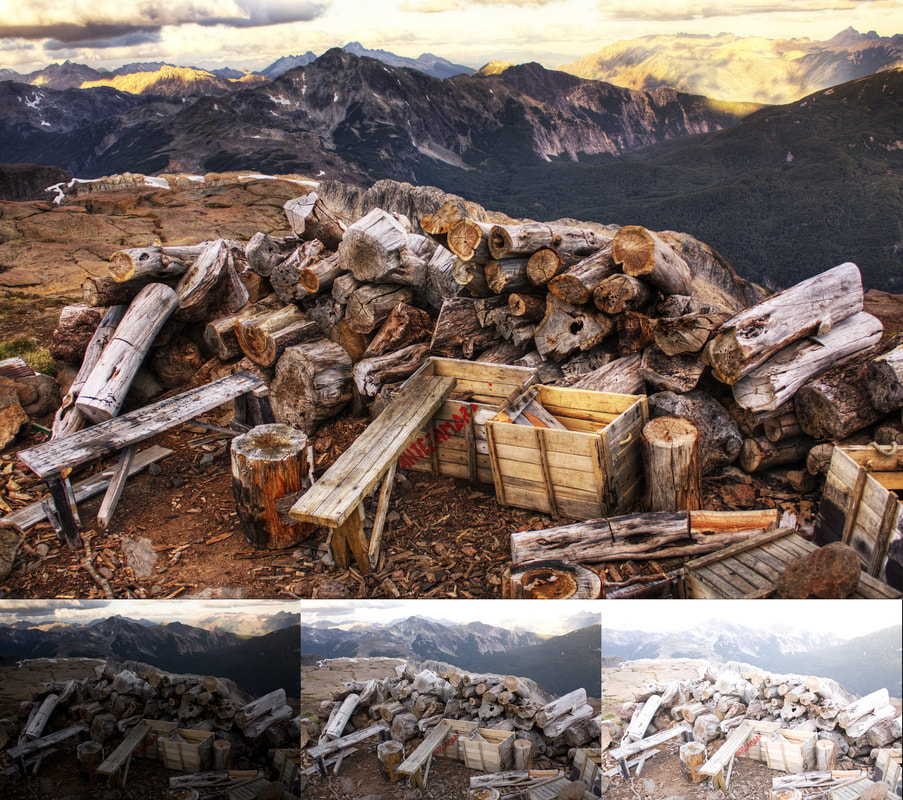
In the image below, you can see how 3 exposures where taken of the same scene (one underexposure, one normal exposure, and one overexposure) and then merged into one image. The final HDR image takes the best or most detailed part from each picture so that the final image has the greatest range of value and the most detail possible.
In the image below, you can see how 3 exposures where taken of the same scene (one underexposure, one normal exposure, and one overexposure) and then merged into one image. The final HDR image takes the best or most detailed part from each picture so that the final image has the greatest range of value and the most detail possible.
ASSIGNMENT: CREATE 3 HDR IMAGES.
For each HDR photograph you create, you will need to take 3 exposures of the same scene/subject. One underexposed, correctly exposed and one overexposed image. You will then combine your images using Adobe Photoshop.
See instructions below...
See instructions below...
HOW TO DO IT...
STEP 1: SET UP YOUR CAMERA
SET UP AEB (AUTO EXPOSURE BRACKETING)
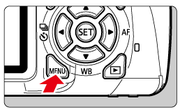
Press Menu on the back of your camera.
|
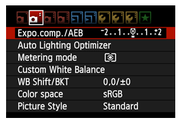
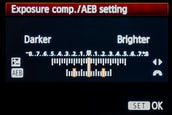
Scroll to the right to your second camera menu and select "Expo.com./AEB"
|
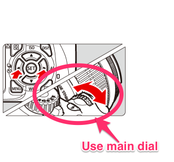
Rotate the main dial to change the AEB amount.
|
Change the AEB amount to -2, 0 and +2.
|
TIPS...
|
|
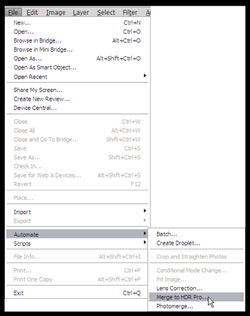
STEP 2: PUTTING IT TOGETHER IN PHOTOSHOP
|
|

|
|
|
|

|
|
|
|
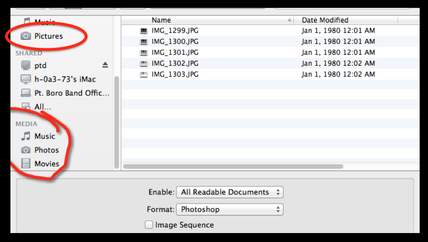
SAVING YOUR IMAGE TWICE!
FIRST TIME- SAVE IT AS A PHOTOSHOP DOCUMENT (PSD) INCASE YOU NEED TO CONTINUE EDITING IT
SECOND TIME- SAVE IT AS A .JPEG WHEN YOU ARE FINISHED TO UPLOAD TO EDMODO/THE INTERNET
extension>play around with the HDR toning setting in photoshop

In your menu bar, go to "image" then "Adjustments" and then "HDR Toning..."
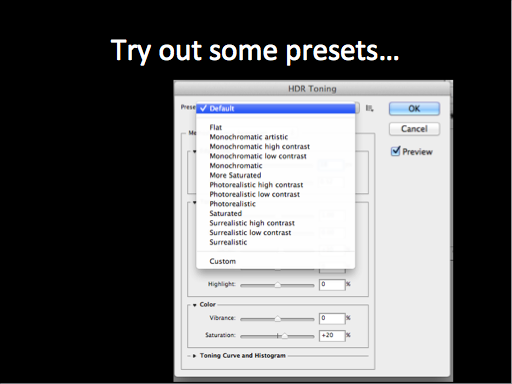
Try out some different preset settings by clicking on the drop-down box next to "Presets"
|
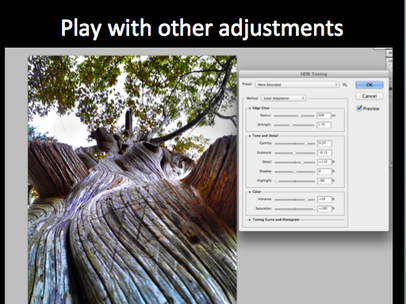
When you find a preset you like, you can further customize and adjust the look of your photo by playing around with the
sliders under "Edge Glow", "Tone & Detail", and "Color." CLICK OK WHEN DONE. THAT'S IT! Make any other edits you like, then save your image as a .JPEG. |
